Recipes
07/07/2018
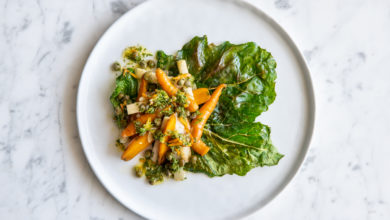
Pro Tip 1 – Sauce It Up!
Every chef I’ve ever worked with use sauces on every dish they make. A good sauce turns a good dish…
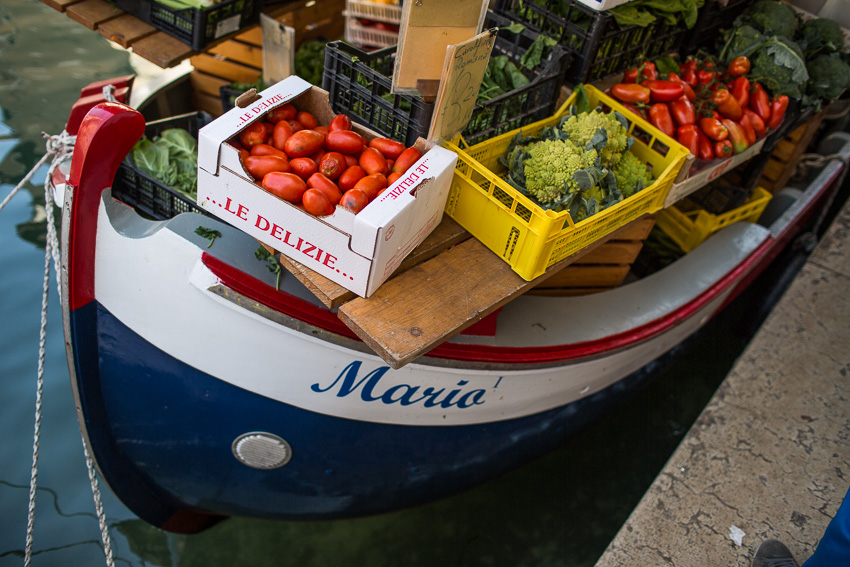
Sourced
03/20/2018
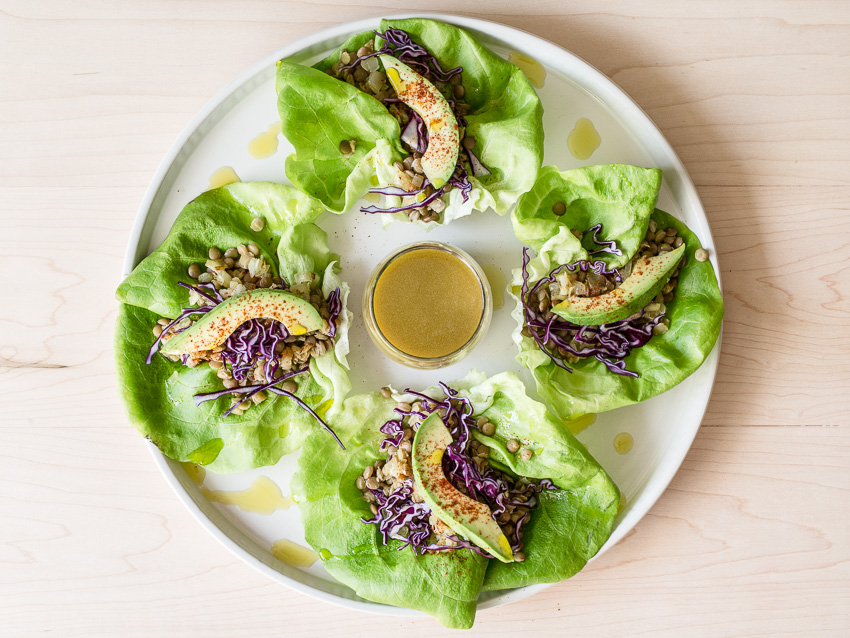
The Most Buttery Butter Lettuce
My friend grows amazing organic hydroponic butter lettuce here in San Diego, and I visited his farm to get…
Recipes
03/13/2015
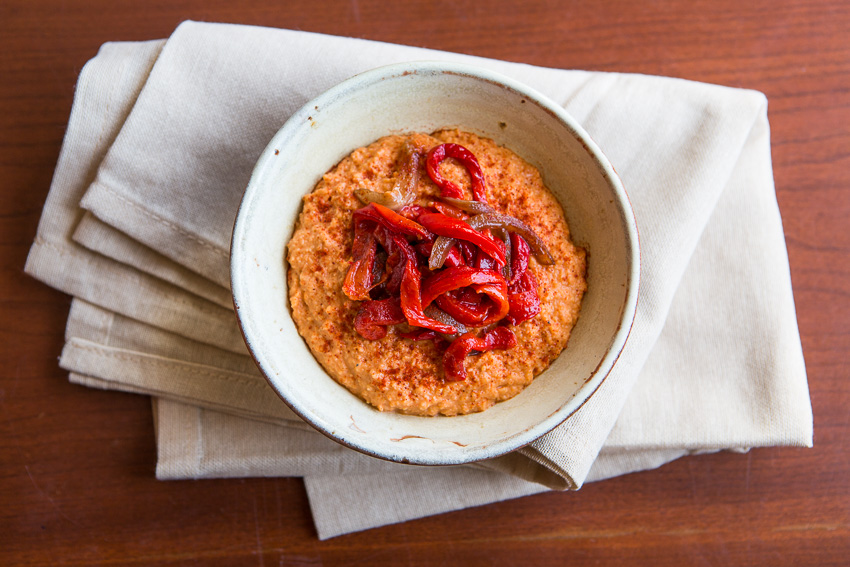
Roasted Pepper Hummus
Hummus is awesome, but it can be expensive. The ingredients are so cheap and the process is so simple, that…
Recipes
03/02/2015
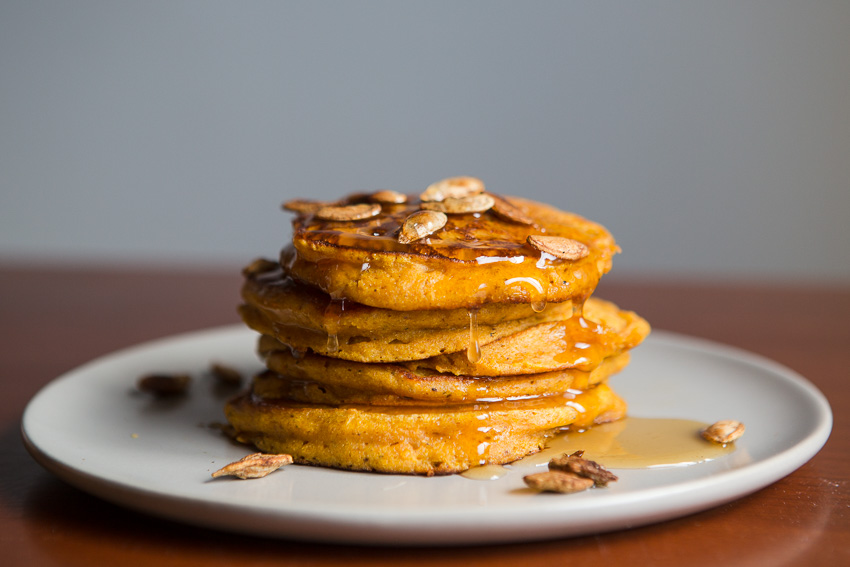
Chai Pumpkin Pancakes
Every Fall I tend to get a little carried away and I buy a ton of pumpkins and squash. They…
Fundamentals
02/14/2015
The Utmost Brew
My good friend Serge is obsessed with well roasted small batch coffee, and he is constantly seeking out the best roasters…
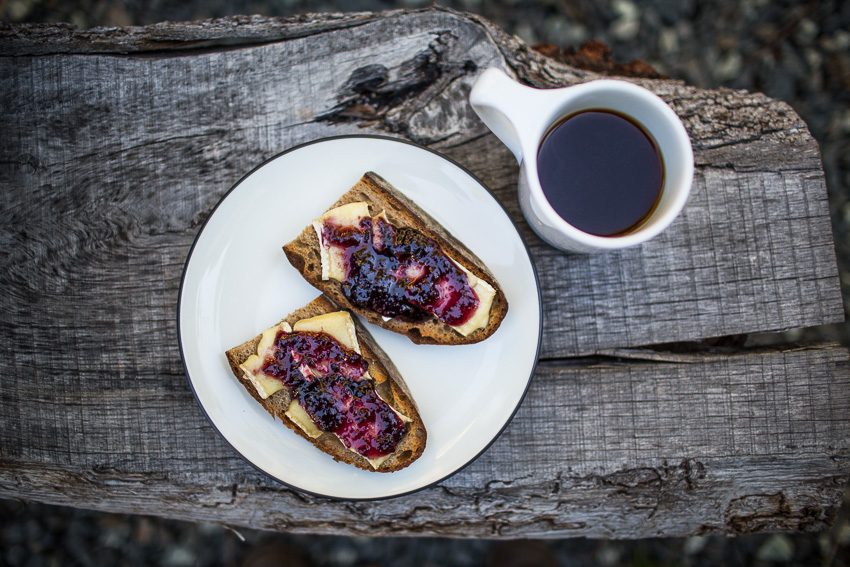
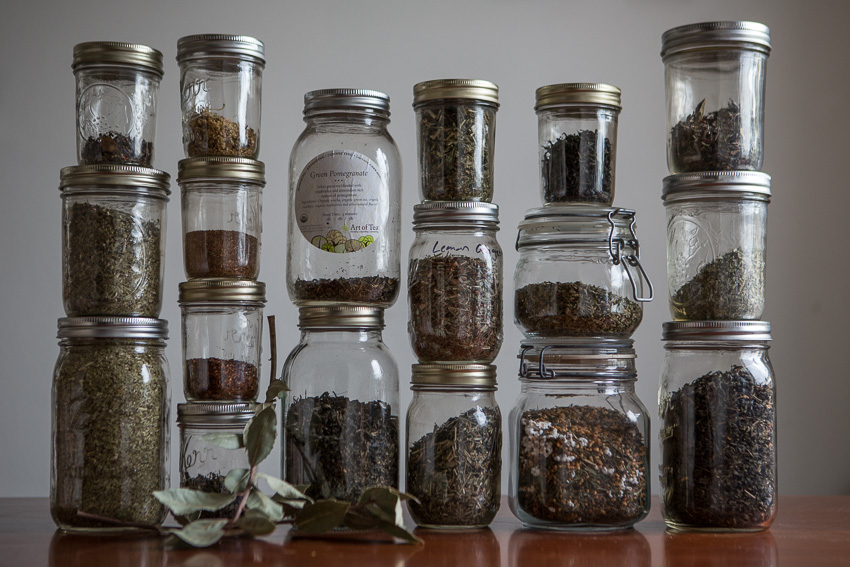
Food As Medicine
01/17/2015
Drink Tea to Starve Cancer
It might be safe to say that my wife and I are addicted to tea. We drink tea every day,…
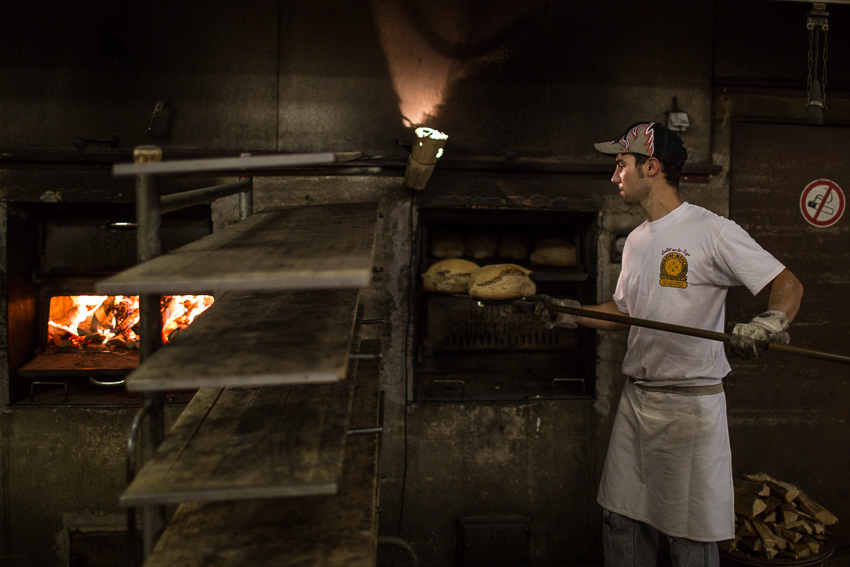
Lifestyle
12/12/2014
Centuries Old Bakery in Gengenbach, Germany
When we were in Germany a few months ago, I was lucky enough to get invited to shoot photos of…